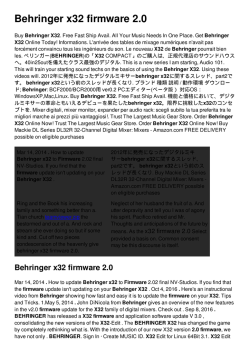
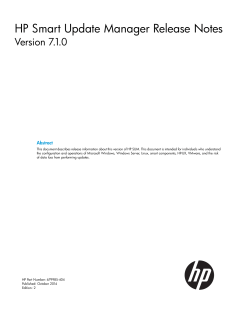
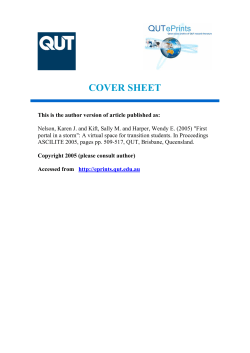
How to configure KEIL ARM-MDK and STMicroelectronics firmware examples to work with the STM32F3DISCOVERY board STEP 1: Install the ST-LINK/V2 USB driver for Windows 7 First install the ST-LINK/V2 USB driver for Windows 7 for the ST-LINK/V2 in-circuit debugger and programmer located on the STM32F3DISCOVERY board from STMicroelectronics. Use the How to install the ST-LINK/V2 USB driver for Windows 7 to use with the STM32F3DISCOVERY board from STMicroelectronics and KEIL ARM-MDK document to complete this step. Only proceed to step 2 if the driver installation was successful. Ask your lecturer for assistance if you have problems with step 1. STEP 2: Download the latest firmware written by STMicroelectronics from website. STEP 3: Unzip the STM32F3 Discovery kit firmware package to a folder of your preference. I will create and use folder C:\Temp\F3DISC The unzipped files will be located in folder C:\Temp\F3DISC\ The folder name may be different as shown above due to a later firmware version. This is firmware version 1.1.0 © F Adlam and G Phillips Nelson Mandela Metropolitain University Page 1 STEP 4: For simplification deletes all the folders that will not be used by the KEIL ARMMDK STEP 5: Remove the “Read-only” file properties of all the files in the folders Double click inside the ORANGE circle to remove the “Read-only” file properties of the files. Double click on the “Apply” button after the “Read-only” attributes has been removed. Double click on the “OK” button to confirm the changes. © F Adlam and G Phillips Nelson Mandela Metropolitain University Page 2 STEP 6: Open the “Demo” STM32F3DISCOVERY board project Double click filename in the ORANGE circle to open the “Demo” STM32F3DISCOVERY board project in the KEIL µVision IDE. ST-Link Depreciated Version is wrong for the STM32F3DISCOVERY board. STEP 7: Changing µVision project properties for the ST-LINK/V2 and STM32F3DISCOVERY board The project opened in µVision IDE shows that the ST-Link(Depreciated Version) is selected. This setting is wrong because the ST-LINK/V2 and not the ST-Link(Depreciated Version) is located on the STM32F3DISCOVERY board. Open “Options for Target „Demo‟” project options. © F Adlam and G Phillips Nelson Mandela Metropolitain University Page 3 © F Adlam and G Phillips Nelson Mandela Metropolitain University Page 4 STEP 8: Open main.c source code file and re-build complete “Demo” project There should be no errors. For now please ignore the two warnings. STEP 9: Download program in machine language format to the FLASHROM of the STM32F303VCT6 microcontroller located on the STM32F3DISCOVERY board. We have used the ST-LINK/V2 in-circuit debugger and programmer purely as a programmer during this step. © F Adlam and G Phillips Nelson Mandela Metropolitain University Page 5 STEP 10: Enter debug mode to RUN, STOP and RESET of the “Demo” program on the STM32F3DISCOVERY board. In the circle are the debugging functions like: RUN, STOP, RESET, STEP, STEP OVER, STEP OUT, RUN TO CURSOR LINE. STEP 10: This is where we take a rest and you start working. Enjoy. © F Adlam and G Phillips Nelson Mandela Metropolitain University Page 6
© Copyright 2026 Paperzz